Frames
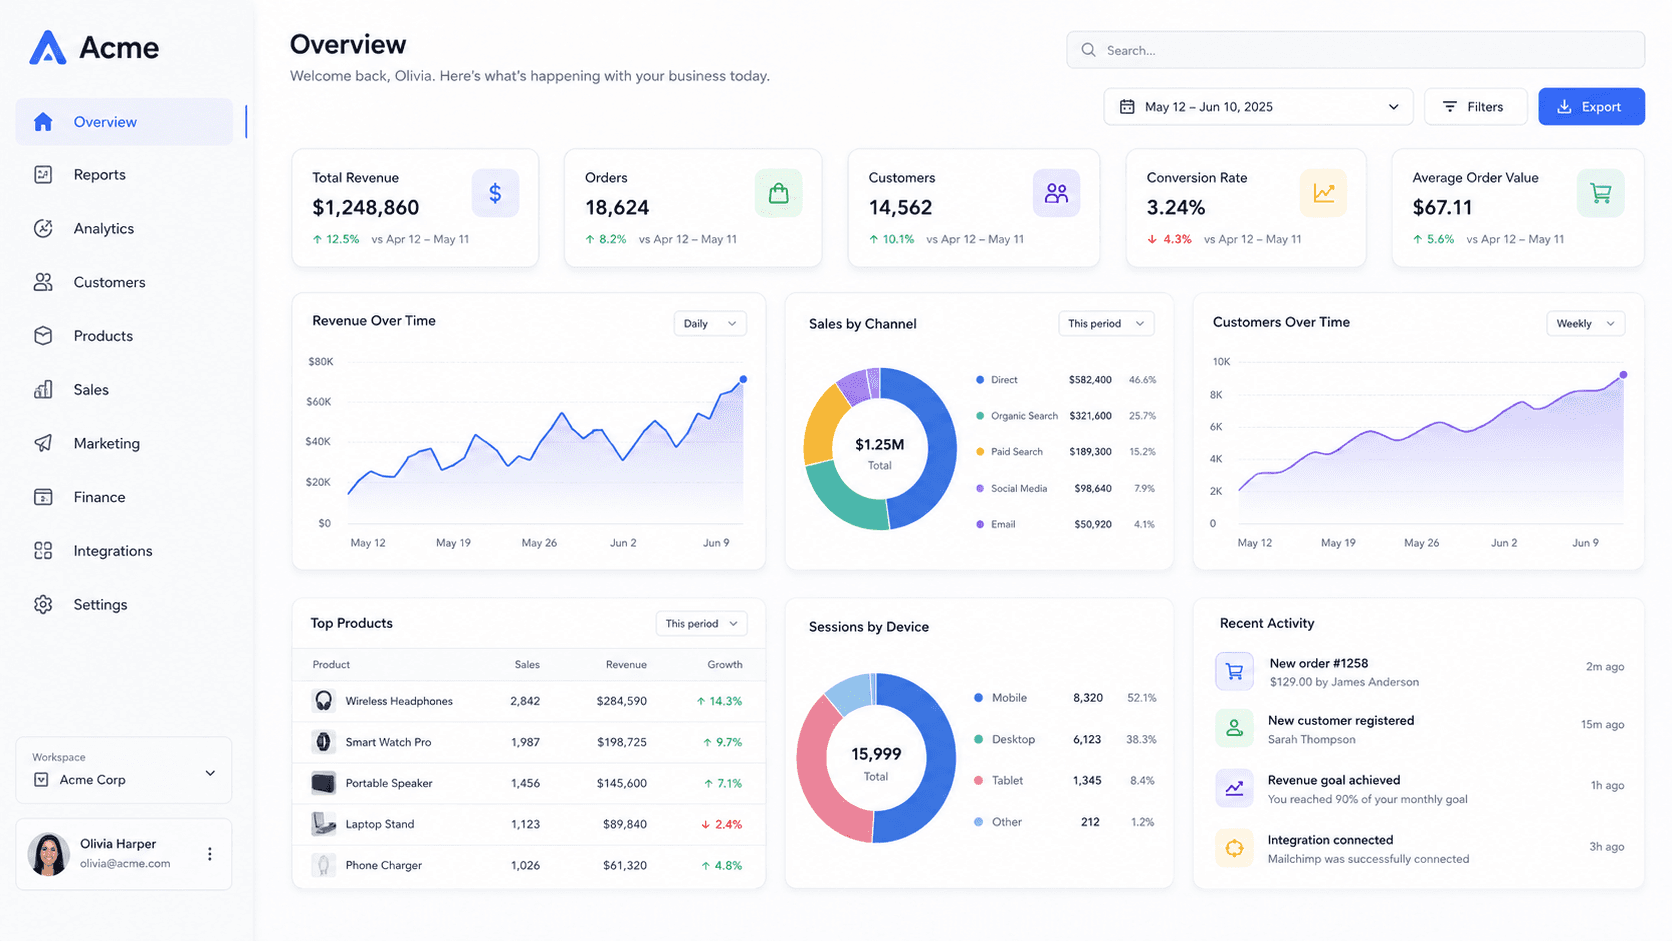
Flat is the honest default — no chrome, no pretending the screenshot came from a device it did not. It suits documentation and changelogs.
A browser window says 'this is a web app' in one glance, and the chrome gives the eye an edge to hold onto at small sizes. Phone, tablet and laptop frames do the same job for the appropriate product, and are drawn procedurally rather than pasted from a photo, so they stay sharp at any export size.
Angle, and why it matters
A flat-on screenshot has no depth cues, so the eye reads it as a document. A few degrees of tilt gives it a near edge and a far edge, and suddenly it is an object in a space.
Too much tilt costs legibility fast. The preset angles in the sidebar are chosen to stay readable; the manual controls are there when you know what you are after.
Focus is a composition tool
The blur here is rendered from scene depth, not painted on, so the falloff behaves like a lens: the near corner softens, the far corner softens, and the plane you focused on stays sharp.
Used deliberately, it tells the viewer where to look — which on a busy dashboard screenshot is the difference between showing everything and showing one thing.
Then export it wherever it is going
Once the shot is set up, the destination is a dropdown: link previews, YouTube thumbnails, Instagram posts, Product Hunt galleries. The scene is re-rendered at that exact size rather than cropped down from one master image.
Common questions
- Are the device frames real photographs?
- No, they are drawn procedurally from proportions. That is why they stay sharp at 4K and why the screenshot inside them is never resampled twice.
- Can I use my own background image?
- Yes — gradient, solid colour, or your own image, plus lighting presets that change how the mockup is lit rather than just tinting it.